Using Bootstrap in Visualforce
During the Summer of Hacks last month, I worked with a pair of coders with no prior Salesforce experience. While I worked on the Apex code, I had them work on the front end because Visualforce could just be straight up HTML if you wanted it to be. So the devs – both of whom had far more experience in modern front-end tools and libraries than I did – decided to use Bootstrap for the front end. But this decision came with a stipulation:
“We had to disable the header and standard style sheets for it to work.”
This was okay to me for the time because we were building a Salesforce1 app and the mobile container did not require any headers. But now that I want the page to function normally in desktop Salesforce just as well as the mobile version, I put the header and standard stylesheet back on.
Yuck! That’s no good! There is obviously some kind of CSS being overridden from the third-party library to Salesforce. Time to figure out how to use Bootstrap and Salesforce together.
Luckily, developer Mike Tetlow from Bracket Labs had already faced and solved the same problem, and even gave a session about it at Dreamforce last year. I recommend checking out this blog post and watching the entire presentation as it is quite good.
The idea is that we need to modify the existing Bootstrap CSS file to function within a specific namespace, and then wrap our entire Visualforce page into that namespace. So if we choose the namespace of “bs” for our page (“bs” as in “BootStrap” and not the OTHER kind of “bs”), then we would wrap our page in a div tag for it.
So how do we obtain this modified “bs” css file? Well, there’s the easy way of just downloading it from someone else, which I can provide for you in this link right here. But as Mr. Tetlow so kindly pointed out in his demo, this link can get old and stale as new releases of Bootstrap come out. So we’re going to do this the hard way – compiling our own Bootstrap css file.
First, clone the bootstrap repo to your local machine using git.
$ git clone https://github.com/twbs/bootstrap.git

$ cd bootstrap/
Now we need to compile the code using Node.js and its NPM tool.
$ npm install
Then we need to run Grunt.
$ grunt
You may have some difficulty installing Node and Grunt on your system if you have not already done so. In fact, most people have problems with these types of opened sourced tools and languages. If you ever encounter an error message when trying to run NPM and Grunt, simply Google the message and there should be a Stack Exchange post and solution to help you out.
Running Grunt should create a /less directory in your local file system filled with .less files. LESS is a CSS tool to help you generate CSS files, and it contains all the configuration needed to generate the Bootstrap file. Go to that directory and open the “bootstrap.less” file into your favorite text editor.
To add a .bs namespace to every element in the Bootstrap, simply wrap the entire file around a .bs {} container.
.bs{
	// Core variables and mixins
	@import "variables.less";
	@import "mixins.less";

...

	// Utility classes
	@import "utilities.less";
	@import "responsive-utilities.less";
}
When you run Grunt again, your new CSS file with all elements in the .bs namespace should be in the dist folder of your Bootstrap directory.
/*!
 * Bootstrap v3.2.0 (http://getbootstrap.com)
 * Copyright 2011-2014 Twitter, Inc.
 * Licensed under MIT (https://github.com/twbs/bootstrap/blob/master/LICENSE)
 */

.bs {
  /*! normalize.css v3.0.1 | MIT License | git.io/normalize */
}
.bs html {
  font-family: sans-serif;
  -webkit-text-size-adjust: 100%;
      -ms-text-size-adjust: 100%;
}
.bs body {
  margin: 0;
}
...
Zip up that dist folder and upload it as a static resource. Then on your Visualforce page, wrap the whole thing up in a div tag where the class = bs.
<apex:page controller="AuthController" standardStylesheets="false">
    <apex:includeScript value="{!URLFOR($Resource.jQuery)}"/>
    <apex:stylesheet value="{!URLFOR($Resource.bootstrap, 'bootstrap-3.2.0-dist/css/bootstrap.min.css')}"/>
    <apex:includeScript value="{!URLFOR($Resource.bootstrap, 'bootstrap-3.2.0-dist/js/bootstrap.min.js')}"/>
    <div class="bs">
        <div class="container">
           ....
        </div>
    </div>
</apex:page>
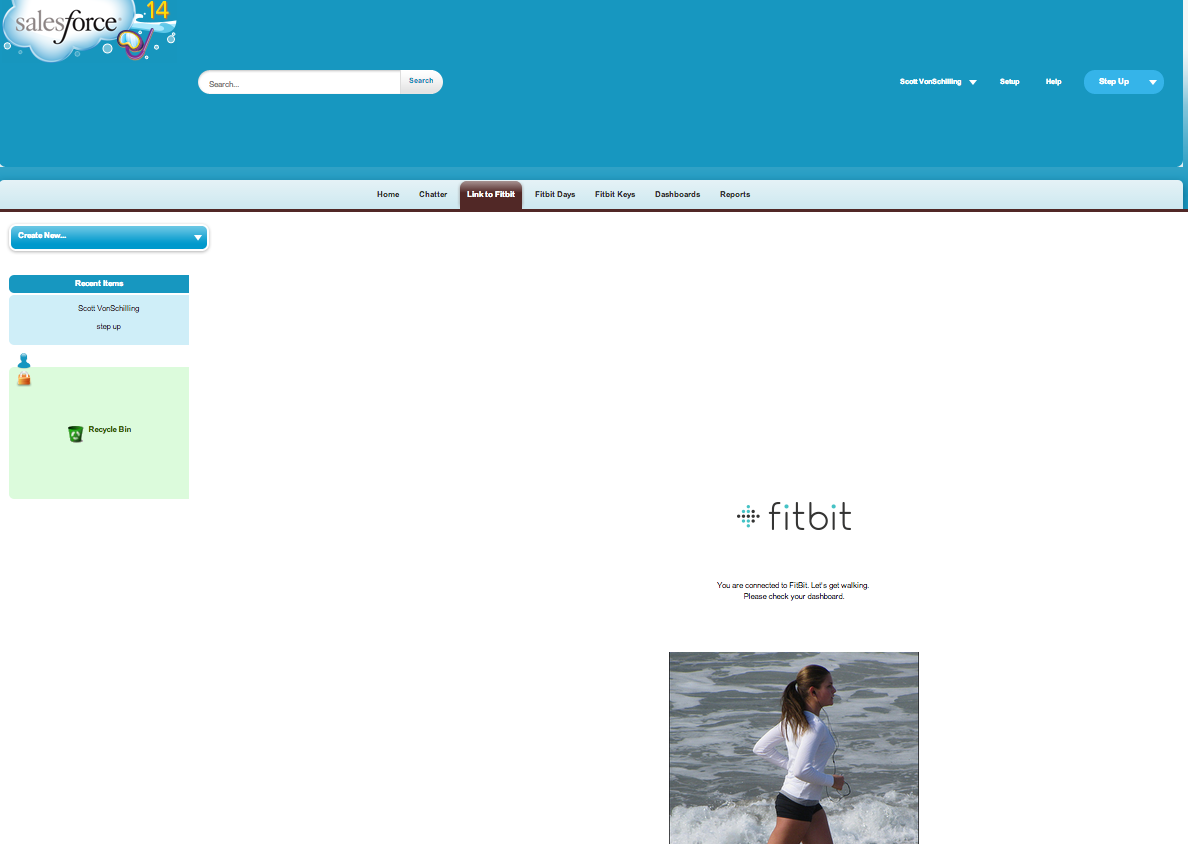
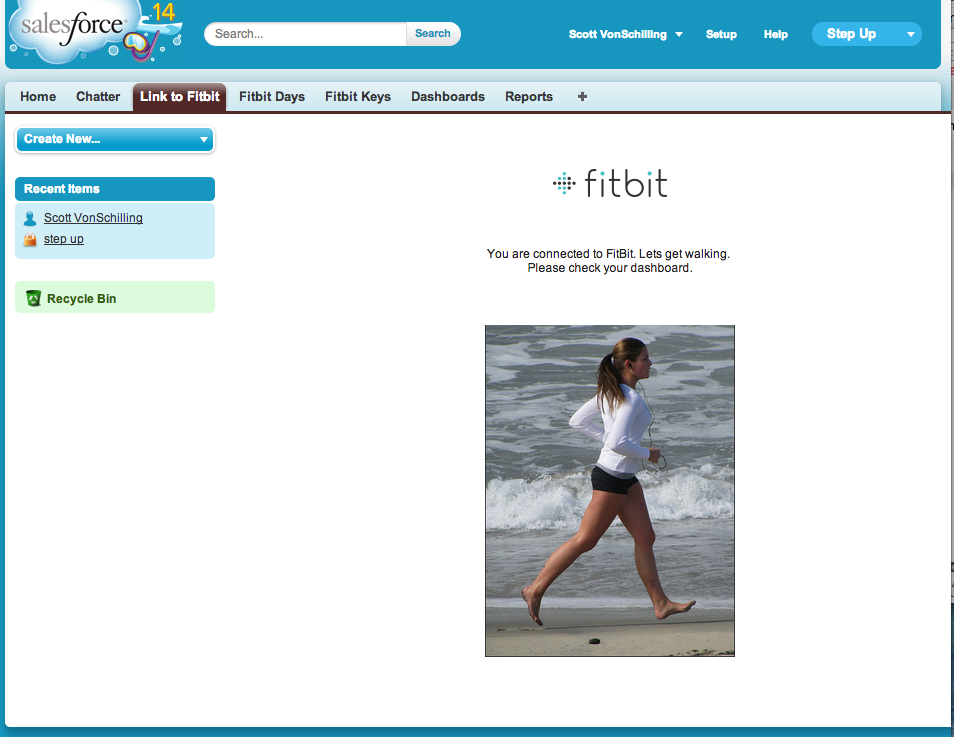
The page now looks a lot better with the standard Salesforce header and sidebar.
As always, if you want to track the progress of the Step Up app, be sure to follow the Github repo here. Also reach out to me on Twitter for any questions or tips on this blog post.
About Author
Scott
Scott is a Certified Advanced Developer with 10 years of Salesforce experience. Scott has helped companies of all sizes run their business better by designing customized business applications on the Salesforce platform, creating and maintaining apps sold on the Salesforce AppExchange, and coordinating data flow between Salesforce and external systems by using API’s and third-party integration tools.